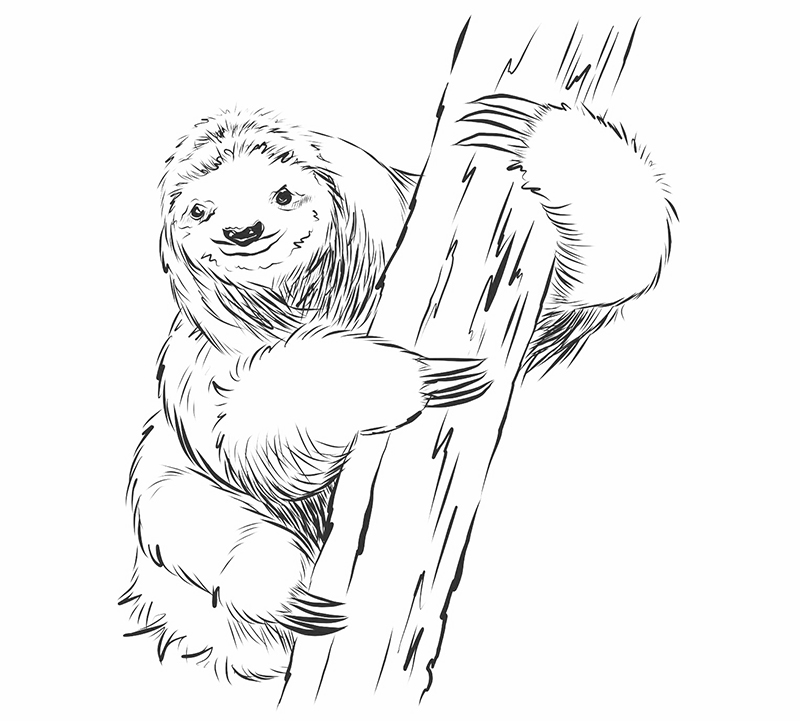
In this drawing tutorial, we’ll take a look at how to draw a sloth. Sloths are perhaps one of the most interesting animals on the planet and are known for how terribly slow they are, but this doesn’t mean that we must be slow about how we draw one. Instead, we’ll begin with loose, quick marks – defining the basic shapes first. With basic shapes in place, we’ll draw the contour lines and details and finish off the drawing.
Step 1 – Draw a Shape for the Head and Plan the Facial Features
We’ll first draw a simple circle for the shape of the head. With the shape in place, we can draw a slightly curved line down the center. Two horizontal lines are added – the first for the eye line and the second for the nose and mouth. Notice that these lines aren’t perfectly straight. Instead, they slightly curve around the form of the face.

Step 2 – Draw Three Overlapping Shapes for the Body
Underneath the head, we’ll next draw three overlapping shapes for the body. The top portion is nearly a circle while the middle section is similar to an oval. The bottom shape is a bit more organic and dips slightly on the right side.

Step 3 – Draw Shapes for the Upper Portions of the Arms
In this drawing, our sloth is hanging on a tree. We’ll add a few shapes for the upper portions of the arms. Actually, “shapes” isn’t the right term, since these are actually lines – but in our minds we are thinking in terms of shapes, leaving the ends open where they connect with the body.

Step 4 – Draw the Lower Portions of the Arms and Few Claws
Next, we’ll add shapes for the lower portions of the arms. These shapes overlap the lines drawn in the previous step. Sloths have very long claws, so we’ll draw a few of them on the ends of the shapes.

Step 5 – Draw the Details of the Face
Now that we have much of the body of the sloth in place, we add a few details to the face. We’ll add the eyes, nose and the mouth, using the lines that we drew in step one as a guide.
We’ll also draw a few lines to indicate a bit of fur around the inner portions of the face. (Sloths look quite scary until you see their friendly faces.)

Step 6 – Add a Tree
Next, we’ll draw a tree for our sloth to be perched upon. We’ll add a few contour lines to indicate a bit of texture as well.

Step 7 – Finish the Drawing of a Sloth
All of our basic shapes have been drawn at this point and all that’s left to do is finish off the details. We can go over all of the lines with ink, increasing the contrast. Lines are pulled out around the form of the sloth to create the illusion of a furry texture. These textural lines become more concentrated in areas where there is a bit of shadow. And that’s it, your drawing of a sloth is now complete!


